
Motors Plugin > Search Results Page
The Search Results Page settings allow you to customize how vehicle listings are displayed after visitors perform a search. Configure the page layout, currency format, and listing card appearance to create a consistent and user-friendly inventory browsing experience
The Search Results Page tab consists of three sub-tabs:
General:
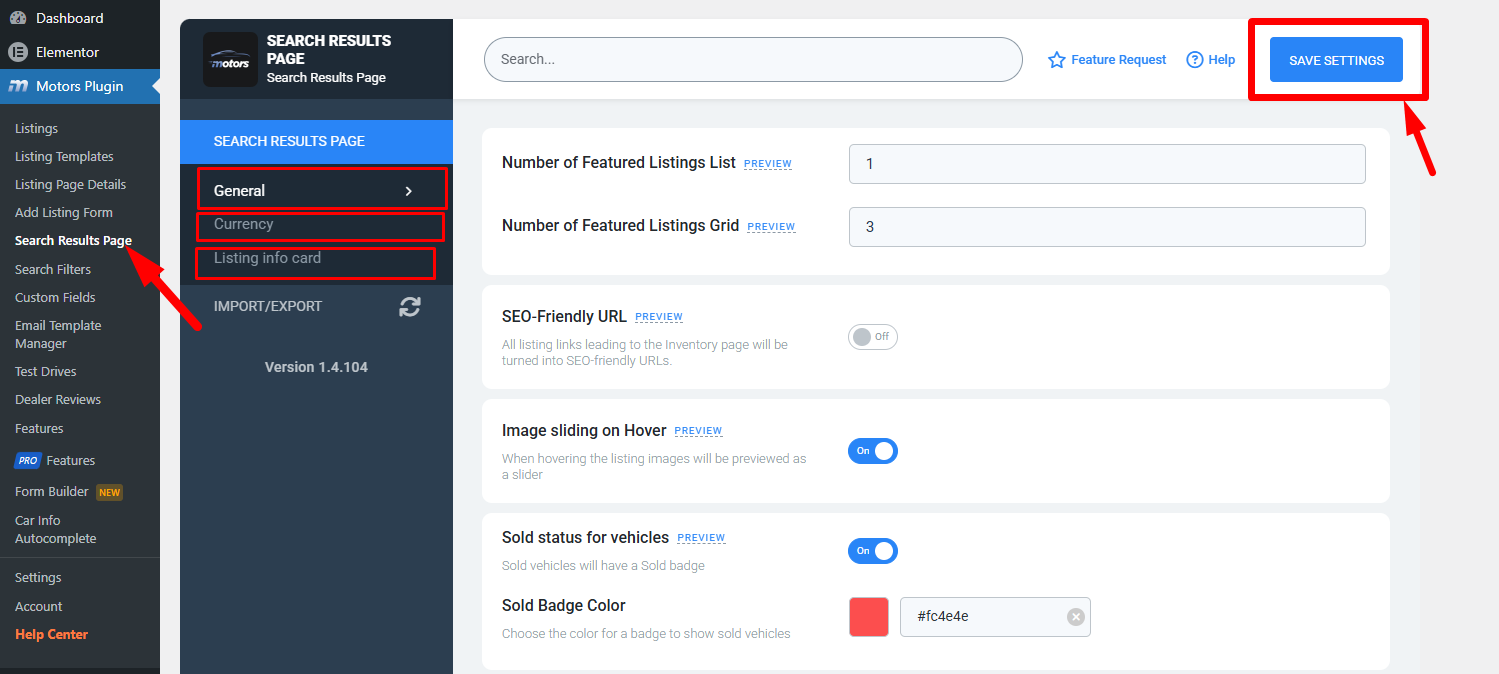
- Number of Featured Listings List – Set the number of featured items to display in the List view mode of the listings.
- Number of Featured Listings Grid – Set the number of featured items to display in the Grid view mode of the listings.
- SEO-Friendly URL: When this option is enabled, all listing links leading to the Inventory page will be turned into SEO-friendly URLs. This helps improve your website’s search engine optimization, making it easier for search engines to index and rank your listing pages.
- Image Sliding on Hover: When this option is enabled, hovering over listing images will activate a preview slider, allowing users to see additional images for that listing without having to click into the detailed view. This feature enhances user interaction and makes browsing listings more convenient.
- Sold Status for Vehicles: Enabling this option allows you to display a “Sold” badge for vehicles that are no longer available. This provides transparency to users and prevents confusion about which listings are still active.
- Sold Badge Color – this setting allows you to customize the color of the “Sold” badge that will be displayed on sold vehicles.
Currency:
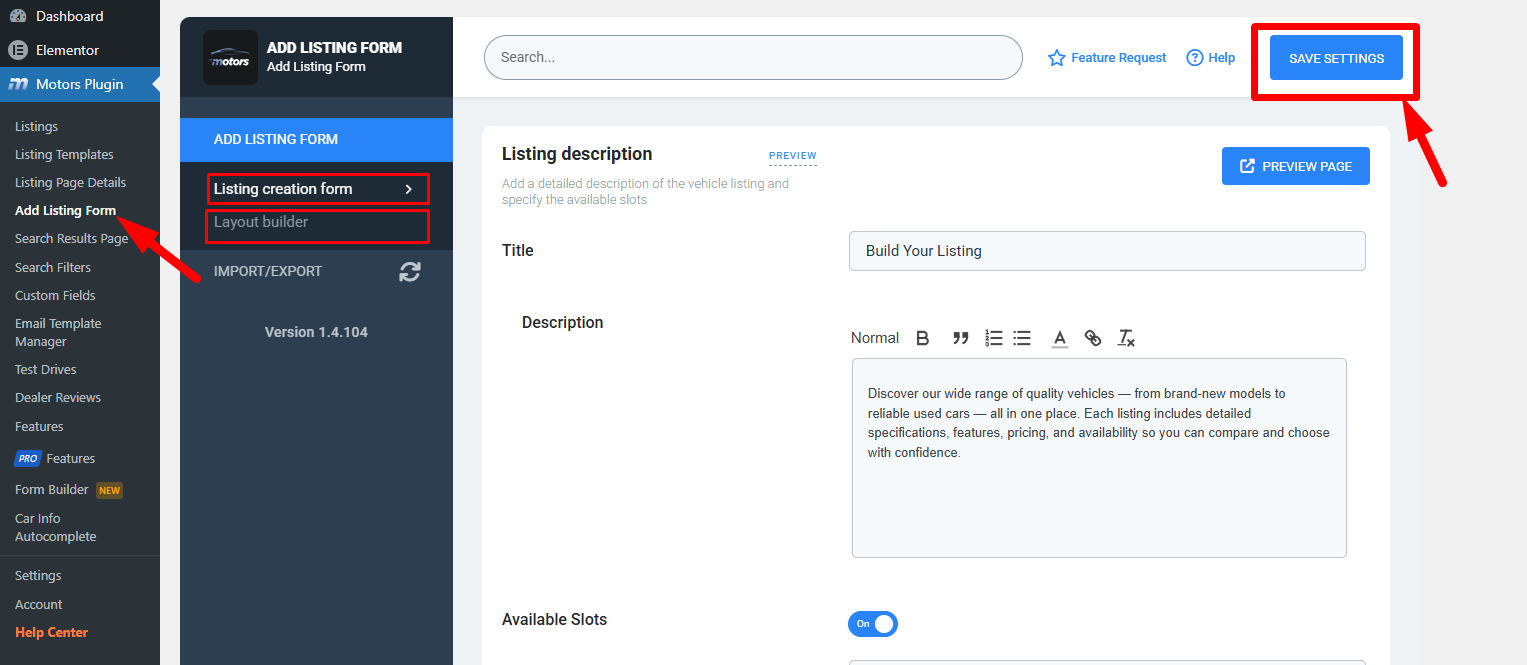
- Currency Name – specify the name of the currency used in the listings, such as USD, EUR, etc.
- Currency Symbol – Enter the symbol representing the currency, such as $ for USD or € for Euro.
- Currency Position – Choose the placement of the currency symbol relative to the number.
- Thousands Separator – define the character used to separate thousands.
- Multiple Currencies (pro feature) – allows you to display prices in various currencies for users from different regions. You can add multiple currencies and set their conversion rates relative to the default currency.
- Currency Name – enter the currency code for the additional currency (e.g., EUR for Euro).
- Currency Symbol – add the symbol for the additional currency (e.g., € for Euro).
- Conversion Rate: Set the conversion rate relative to the default currency. For example, if 1 USD = 1.12 EUR, you would set the conversion rate to 1.12.
Listing Info Card:
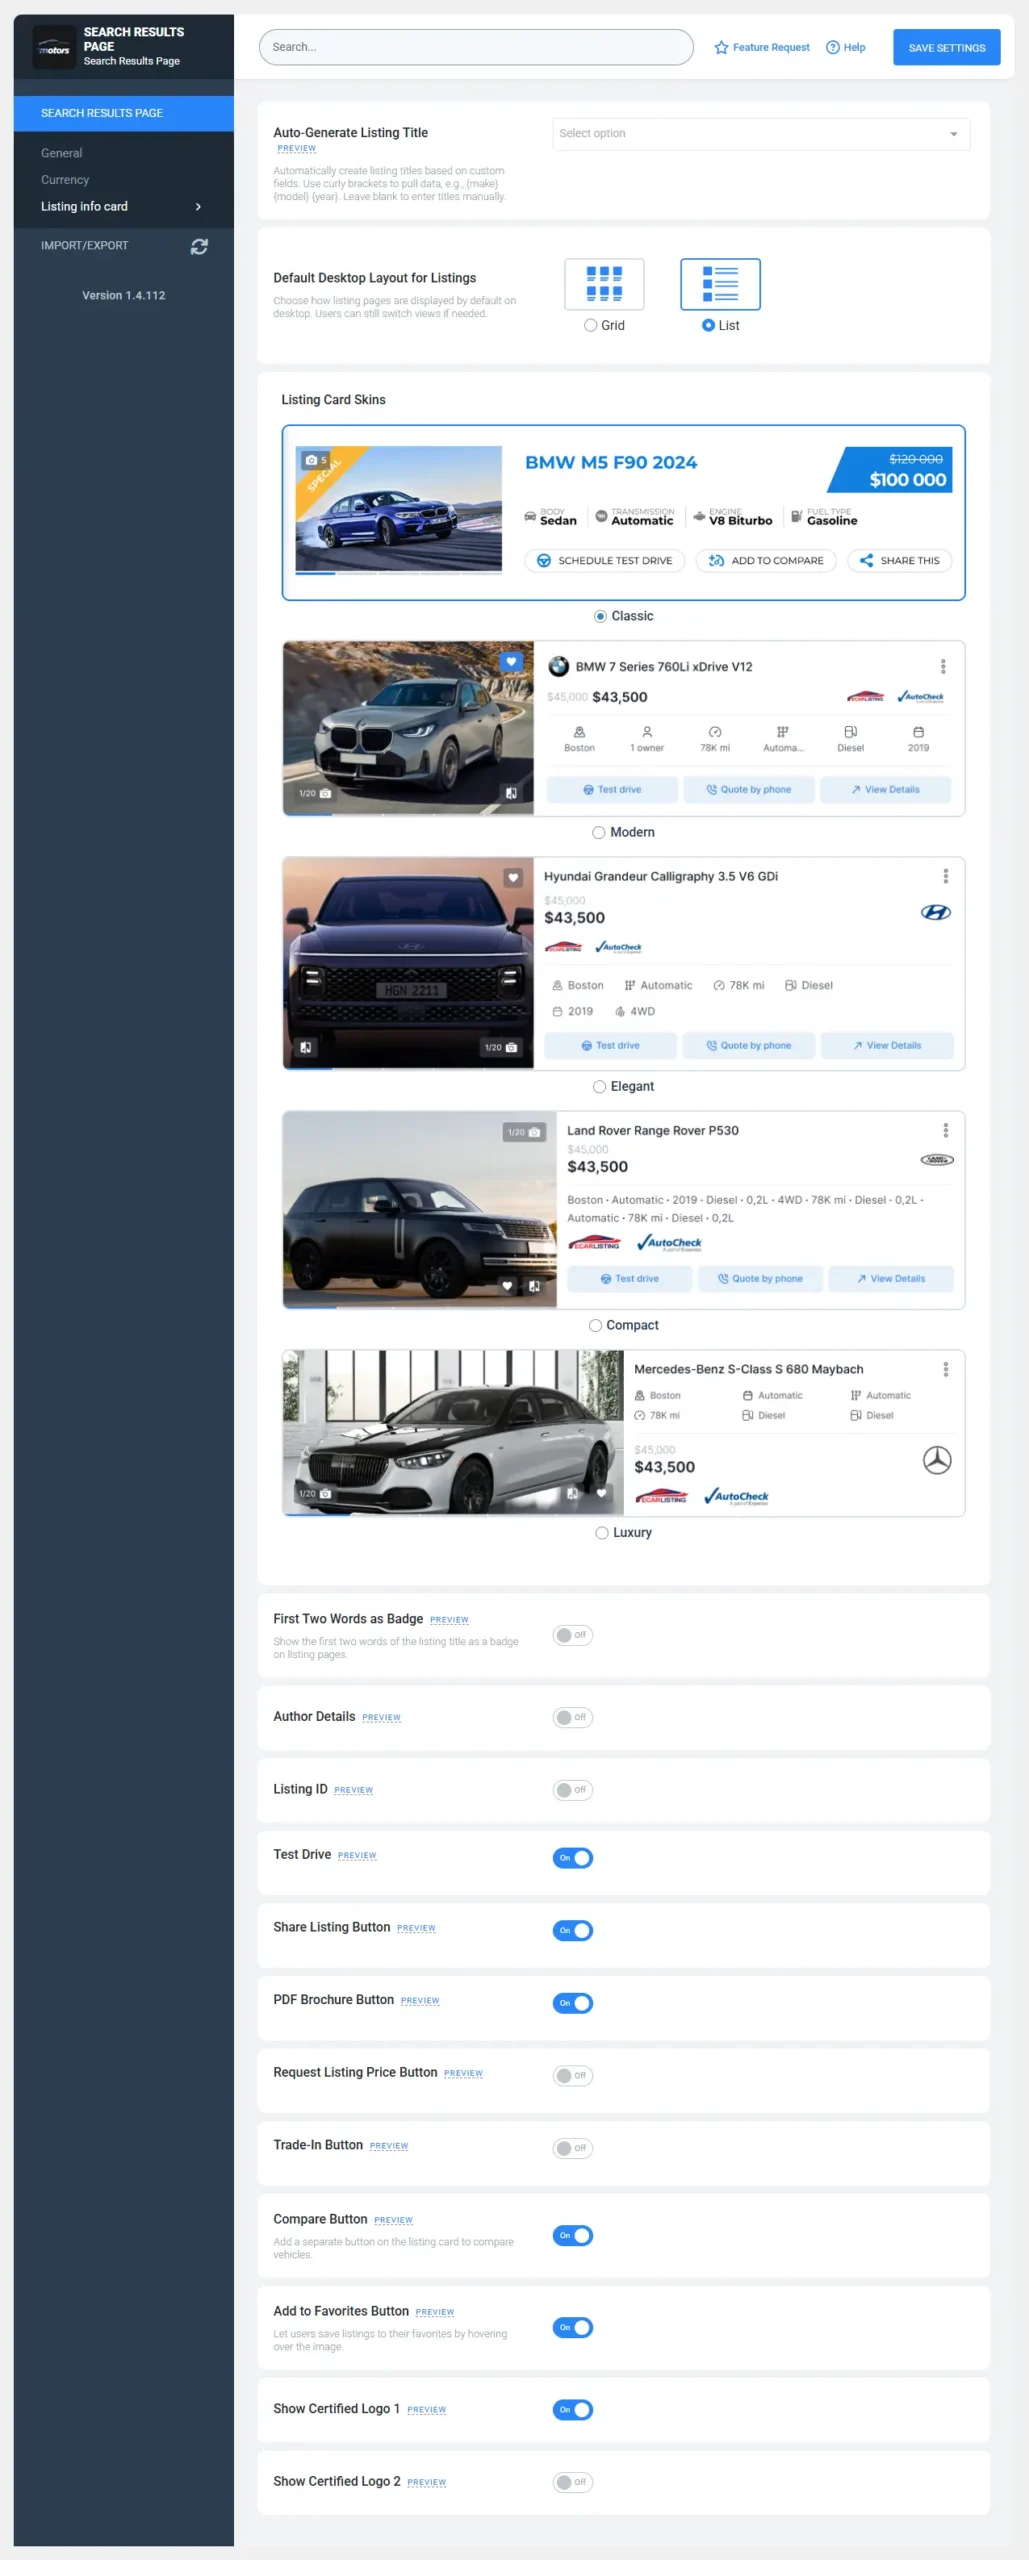
- Autogenerate a listing title: The title will be generated based on the listing categories. Enter the slug of the listing categories that you wish to display as a listing title, for example, {condition} {make} {serie} {ca-year}. Leave this field empty for a custom title for each listing.
- Default Desktop Layout for Listings: Choose between Grid or List as the default view for desktop users. After that, you can choose the available skin for the mode.
- Info Card Skins: There are several skins for the listing info cards. Choose the right ones according to your needs.
Modern Info Cards Extra Settings:
- Field to display as logo: This setting lets you choose a custom field that will be displayed as the logo on listing cards.
- First Two Words as Badge: Show the first two words of the listing title as a badge on listing pages.
- Author Details: Enable the setting to display author info in the cards:
- Listing ID: Enable the setting to display the ID of the listing in the info card. Only available in the List view.
- Test Drive: Enable the setting to display the Schedule Test Drive button on the Listings page. The Test Drive Schedule button appears only on the List view of the Inventory page.
- Share Listing Button: Enable the Share option to display the social share button on the Inventory page. The Share Block appears only on the List view of the Listings Page.
- PDF Brochure Button: Enable the setting to display the PDF brochure button on the page so the users can display the listing brochure. The PDF brochure button appears only on the List view of the Listings page.
- Request Listing Price Button: Enable the setting to display a special button that can be used to request a different price than the current listing price and negotiate by sending a quote by phone.
- Trade-In Button: Enable the setting to display the Trade Value button on the Listings page. Using this button, users can offer a different price than the current listing price via email quote. The message will automatically be sent to the listing owner’s email. This feature is also only available in the list view mode.
- Compare Button: Enable the setting to show the Add to Compare button on the listing block on the Listings page.
- Add to Favorites Button: Enable the option to display the “Add to Favorite” button (star icon) when hovering over a listing image on the Listings page.
- Show Certified Logo 1: Enable the setting to display the certificated dealers’ logo in the info card on the listings page. This feature is also available in the List View mode only.
- Show Certified Logo 2: As Certified Logo 1, you can enable the setting to display the certificated dealers’ logo in the info card on the listings page. This feature is available in the List View mode only.
- Listing title max length: Set the maximum number of symbols to display in Listing cards. Characters that exceed the limits are replaced with dots (…).