
You can create a new custom field (listing category) and customize filter options via the WordPress Dashboard. Navigate to Motors Plugin > Custom Fields to set up categories that suit your specific needs.
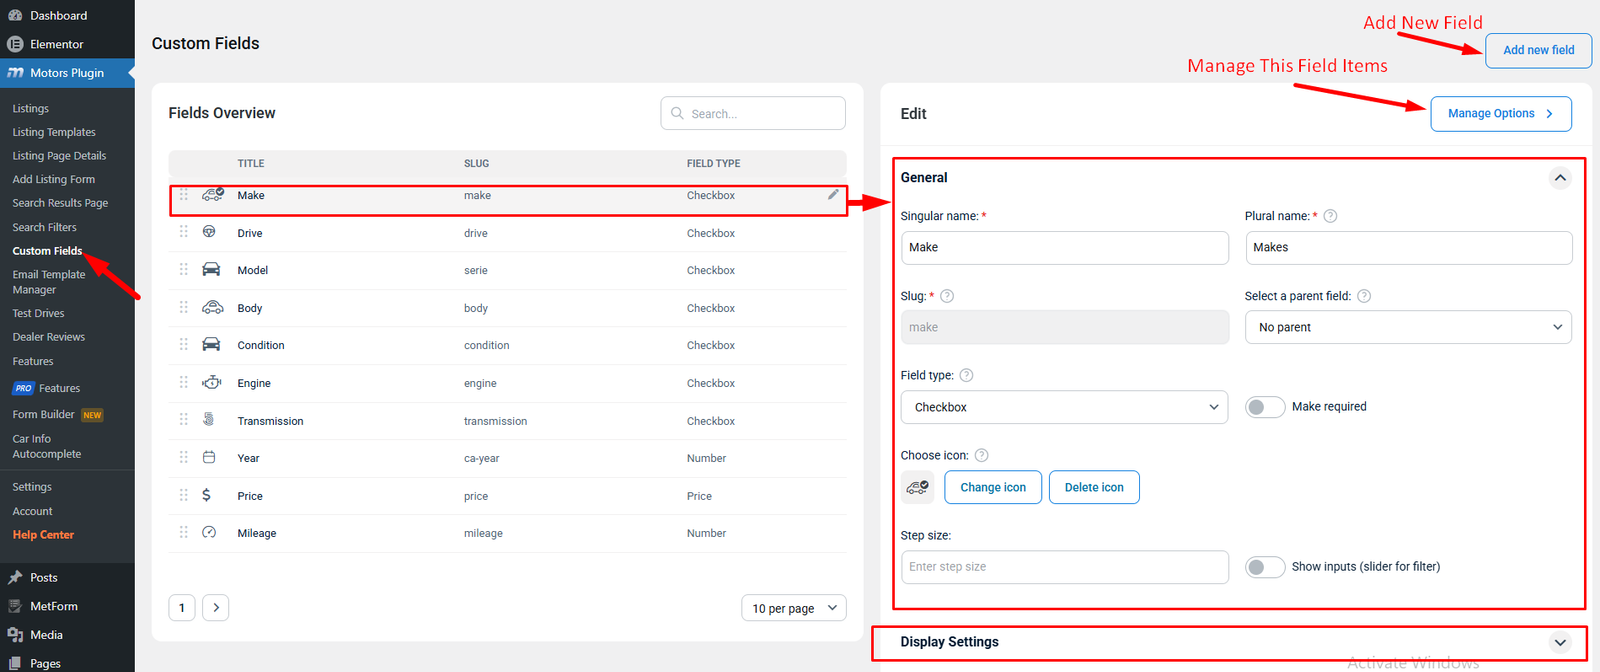
When creating custom fields (listing categories) in the Motors plugin, several fields are essential for properly setting up and displaying your categories. Custom Field Details are organized into three sections:
- General
- Display Setting
- Filter Settings
- Skins settings
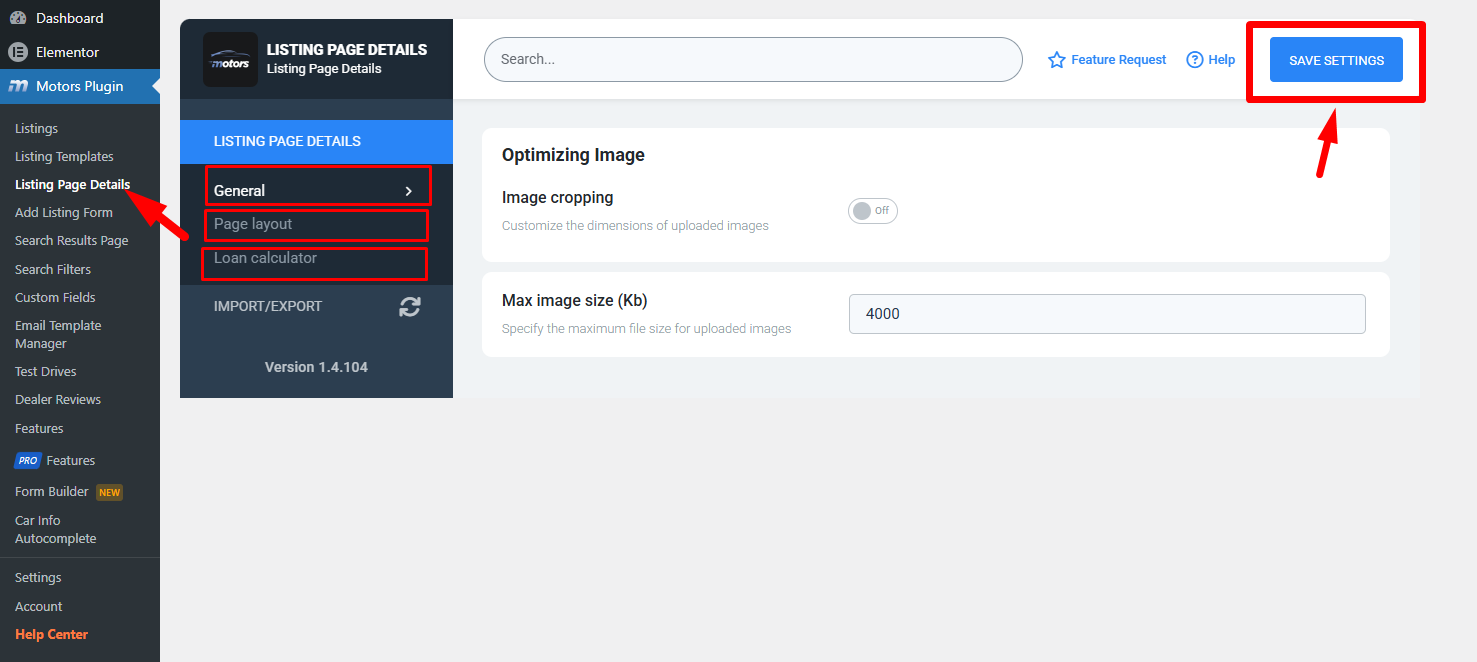
General:
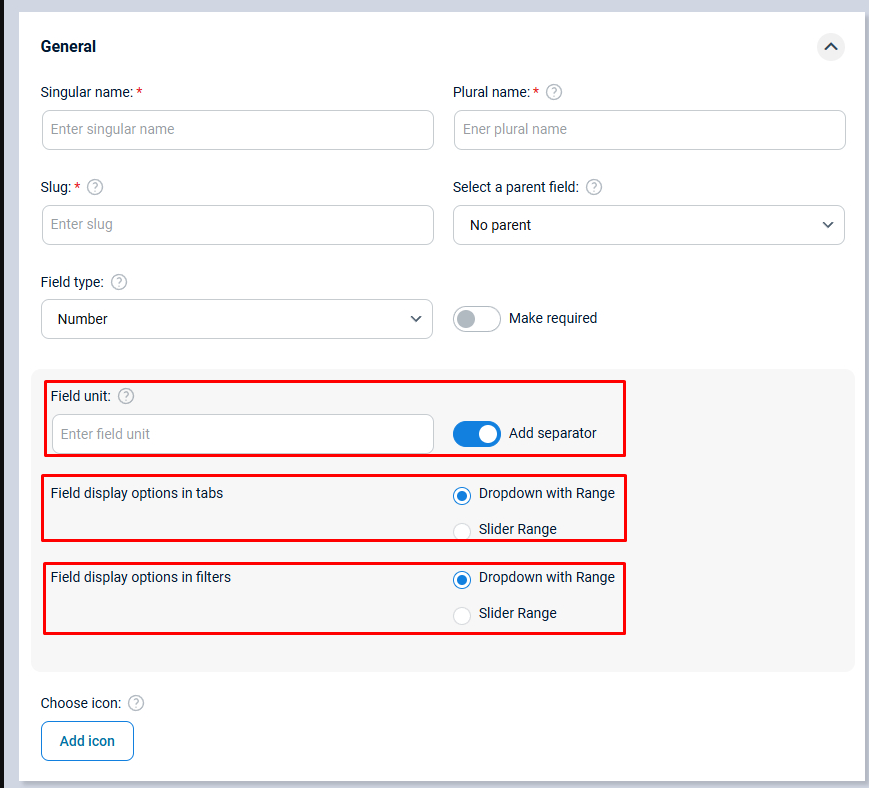
- Singular Name – is the singular label of the custom field (listing category). It is used to identify individual items within this custom field.
- Plural Name – this is the plural label of the custom field. It is used to identify multiple items within this custom field (category).
- Slug – the URL-friendly version of the custom field name. This should be as short as possible to ensure a clean and concise URL structure.
- Select a Parent Field – allows you to nest this field under an existing field (its “parent”). If you do not want this field to be nested, choose “No parent.”
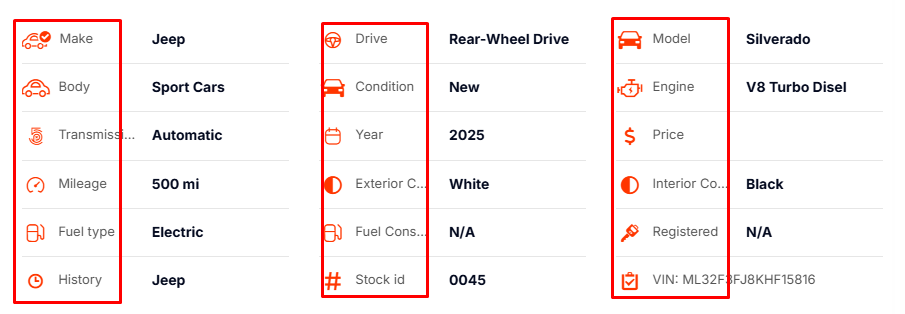
- Choose Icon – this is the symbol that represents the custom field. It will be displayed on a single listing page to differentiate this custom field from others visually.
- Required – when adding a new listing, all the fields marked as required must be filled in.
- Field Type – specifies the format of the data for your custom field (for example, a dropdown list or a numerical value).
- Dropdown Select – when you select this type, the field will display a list of options from which users can choose.
- Number field – when a custom field is marked as “Number,” it only accepts numerical values, not text. These fields can be displayed in Slider view on the Search Results Page (Inventory page).
- Field unit – lets you specify a unit or suffix (for example, “kg,” “$,” “cm”) that appears alongside the numerical value. It will be displayed on all pages.
- Add Separator – toggles whether a separator will appear between the numerical value and the field unit.
- Field display options in tabs – allows you to choose how the field appears on a listing’s detail tabs (e.g., “Dropdown with Range” or “Slider Range”). If Slider Ranges is selected, you can adjust the step size as well.
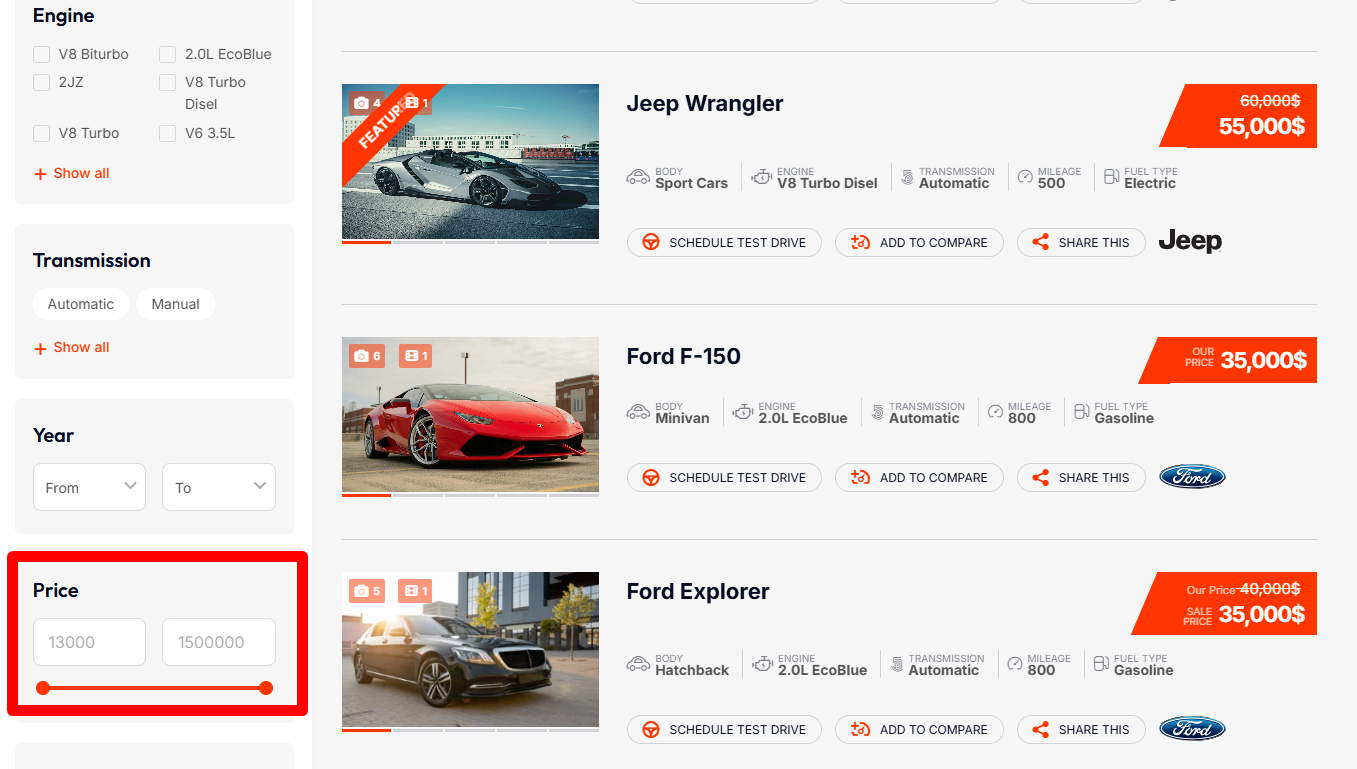
- Field display options in filters – lets you set how the field can be filtered on listing pages (e.g., “Dropdown with Range” or “Slider Range”). If Slider Ranges is selected, you can adjust the step size as well.
Display Settings:
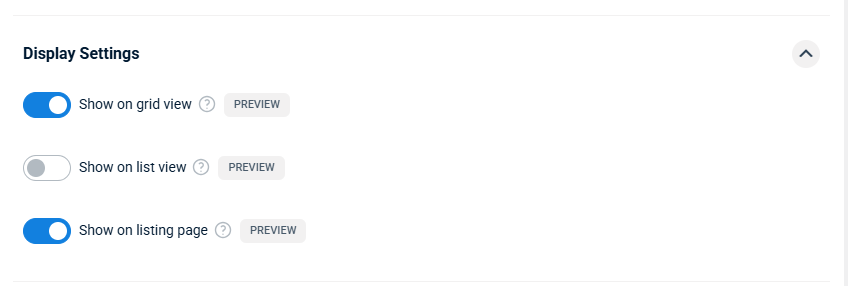
- Show on Grid View – when the option is enabled the custom field will be visible in Grid view on the Search Results Page (inventory)
- Show on List View – when the option is enabled the custom field (category) will be visible in the List view on the Search Results Page (inventory)
- Show on Listing Page – the custom field (category) with its value will be included in the “Car Details section” of the Single Listing Page
Filter Settings:
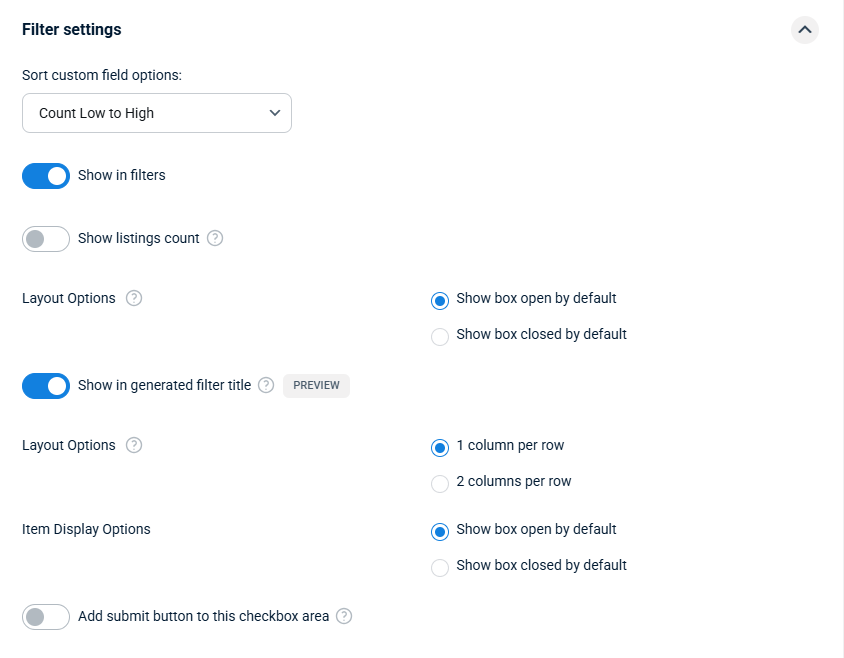
- Sort Custom Field Options – choose one of the sorting options to sort the custom field options:
- Count Low to High
- Count High to Low
- Name A to Z
- Name Z to A
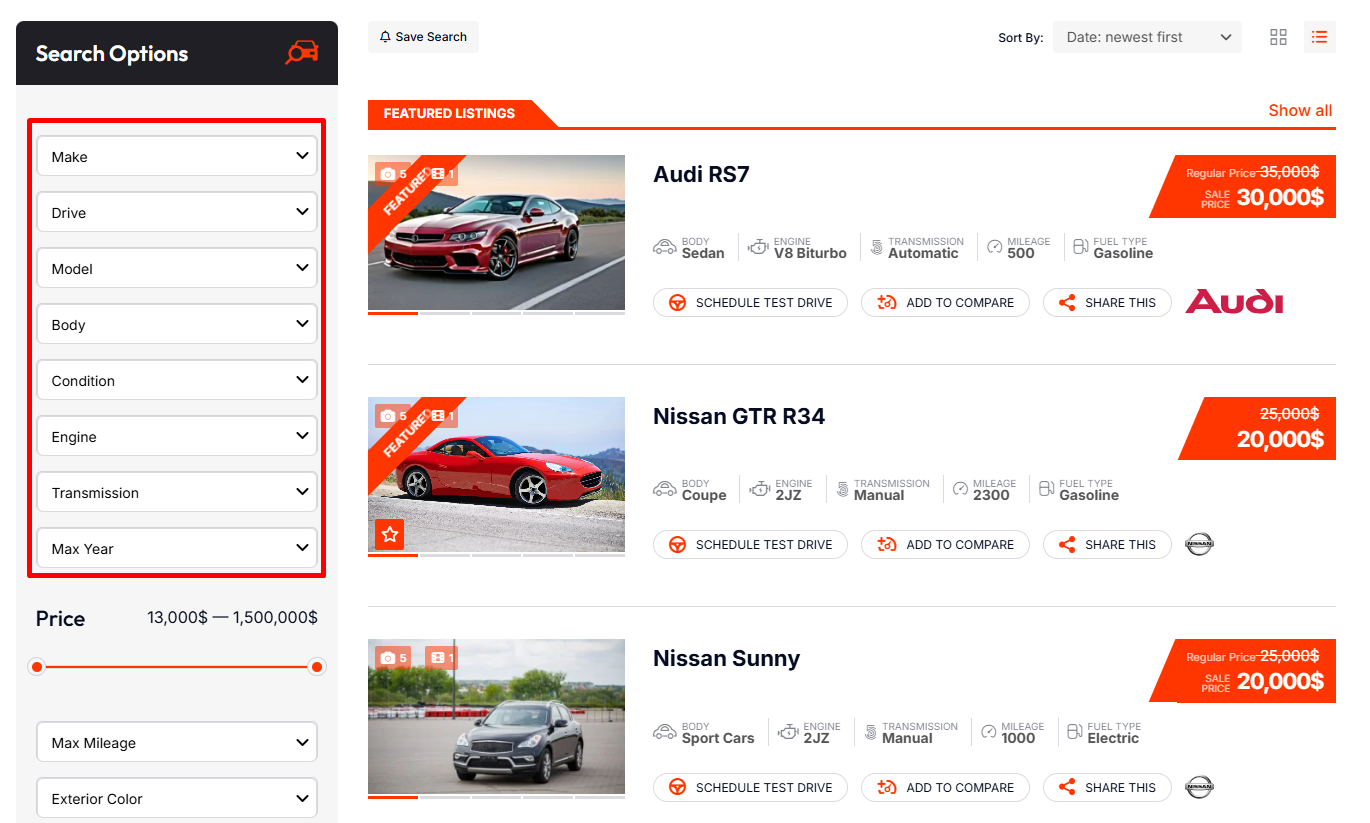
- Show in Filters – enables whether this custom field is displayed in the filter area of the Search Results Page.
Filter on Search Results Page:
- Layout Options – lets you control how the filter section is displayed (e.g., “Show box open by default” or “Show box closed by default”).
- Show in Generated Filter Title – if enabled, the selected option(s) will appear in the filter’s title on the search or listing page, making it clear which filters have been applied.
- Show in Listing Info Page – toggles whether the chosen filter value for this field is displayed on the Listing Info Page.
- Show as Checkboxes in the Inventory Filter – switches the filter display style to checkboxes when viewing listings in the Search Results Page (Inventory) Filter area, so users can easily pick multiple options.
- Layout Options – choose one of the 1 or 2 columns per row options
- Item Display Options – allows you to set how items within this filter are revealed to the user (e.g., “Show box open by default” or “Show box closed by default”) for a more tailored user experience.
- Add Submit Button to This Checkbox Area – adds a submit button directly alongside the checkboxes, letting users confirm their selections without scrolling or navigating away.
Skins settings:
Select a skin for this field that will be used in the inventory filter.
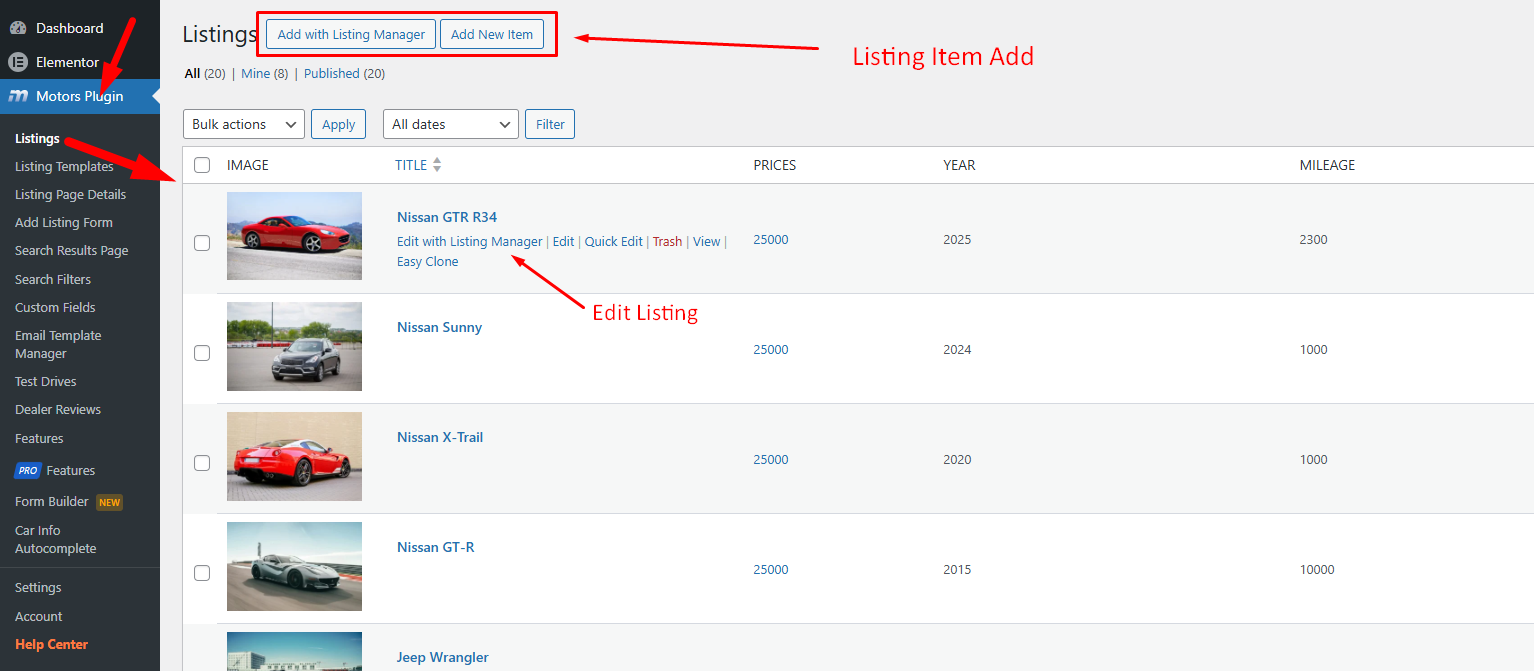
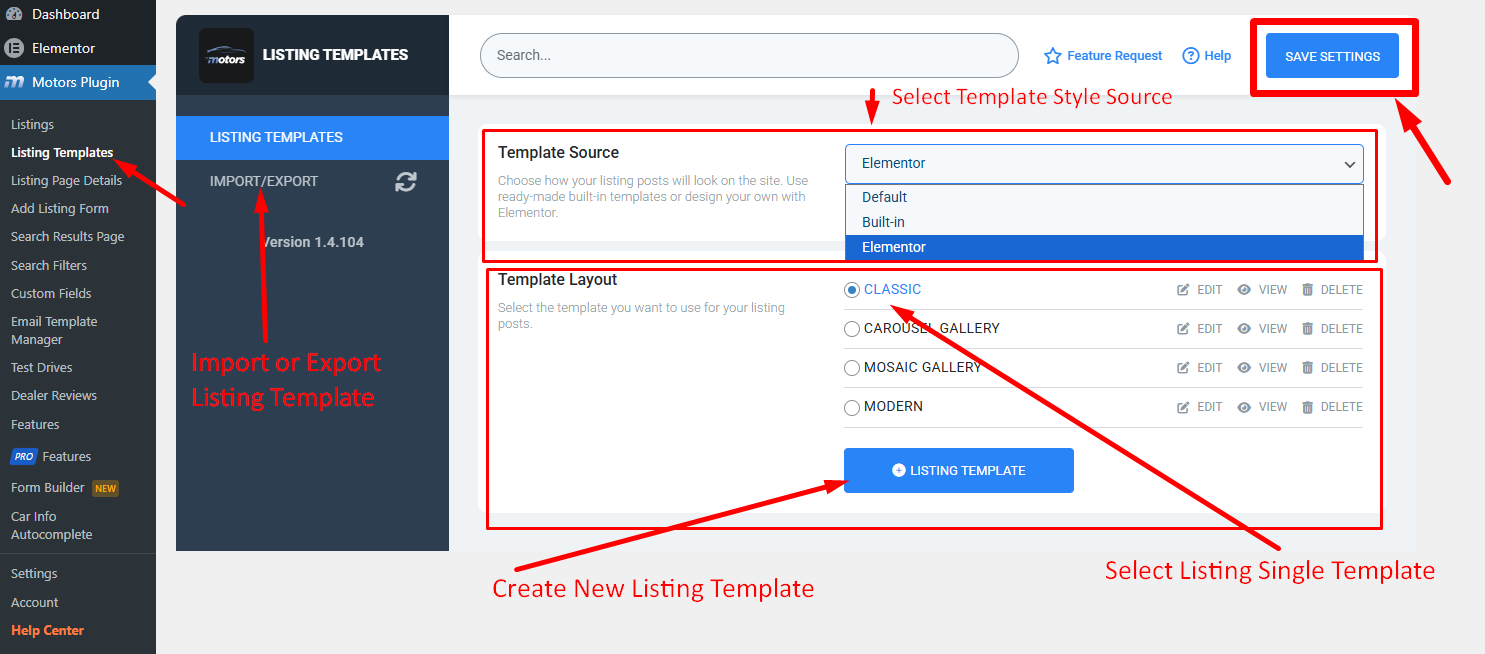
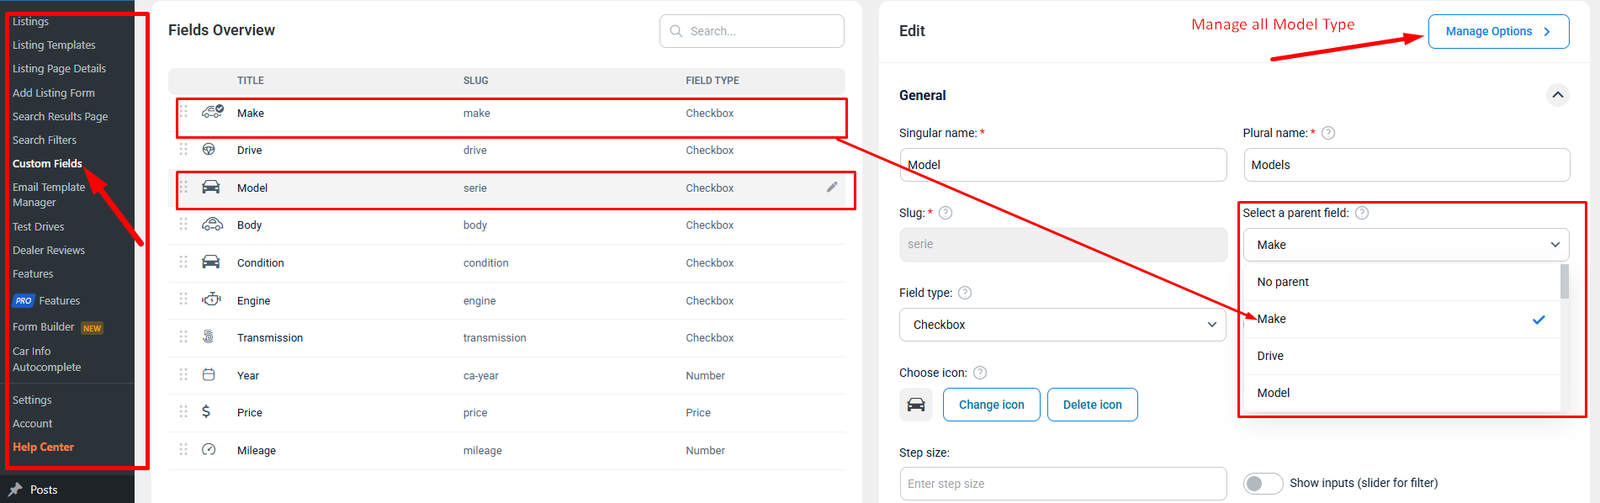
Set Parent Category (Make for Models):
By editing the “Model” listing category, we will set the “Make” category (custom field) as a parent:
After this, it is required to go to Manage Options.
Set the correct parent Makes for each Model:
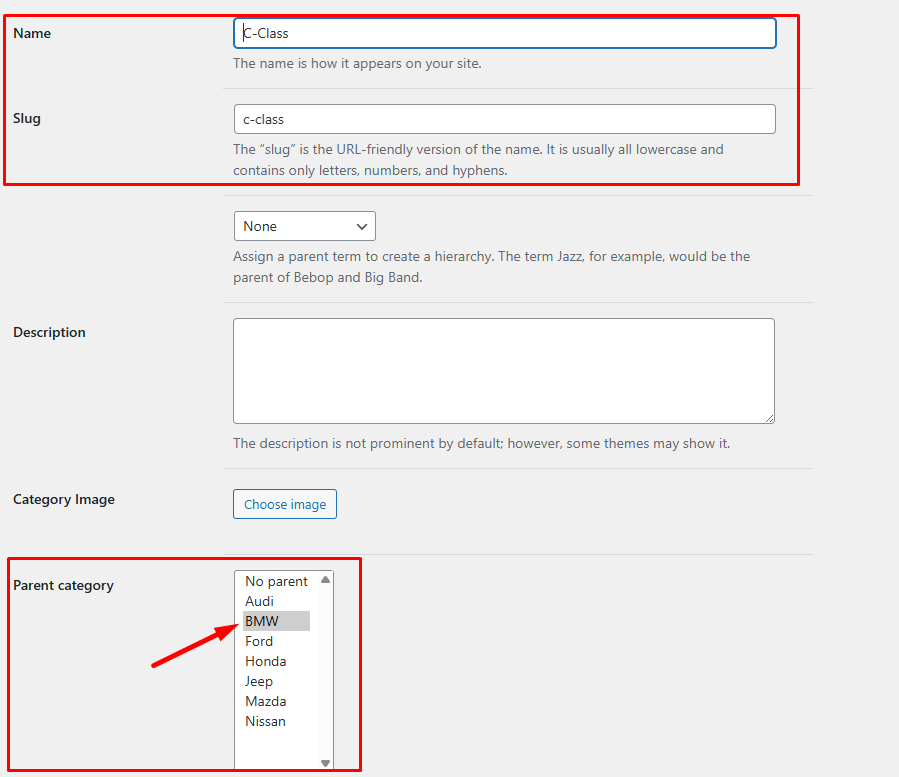
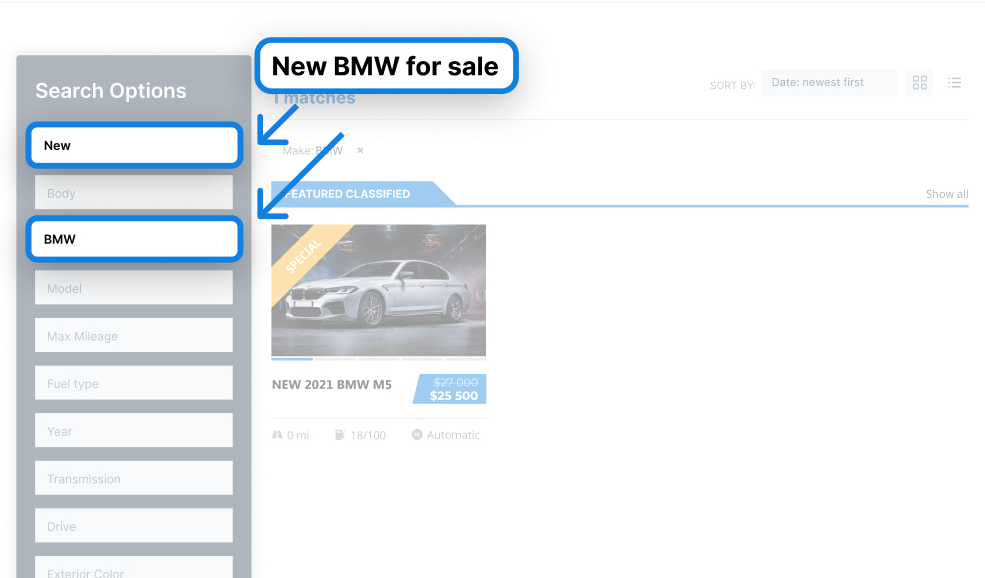
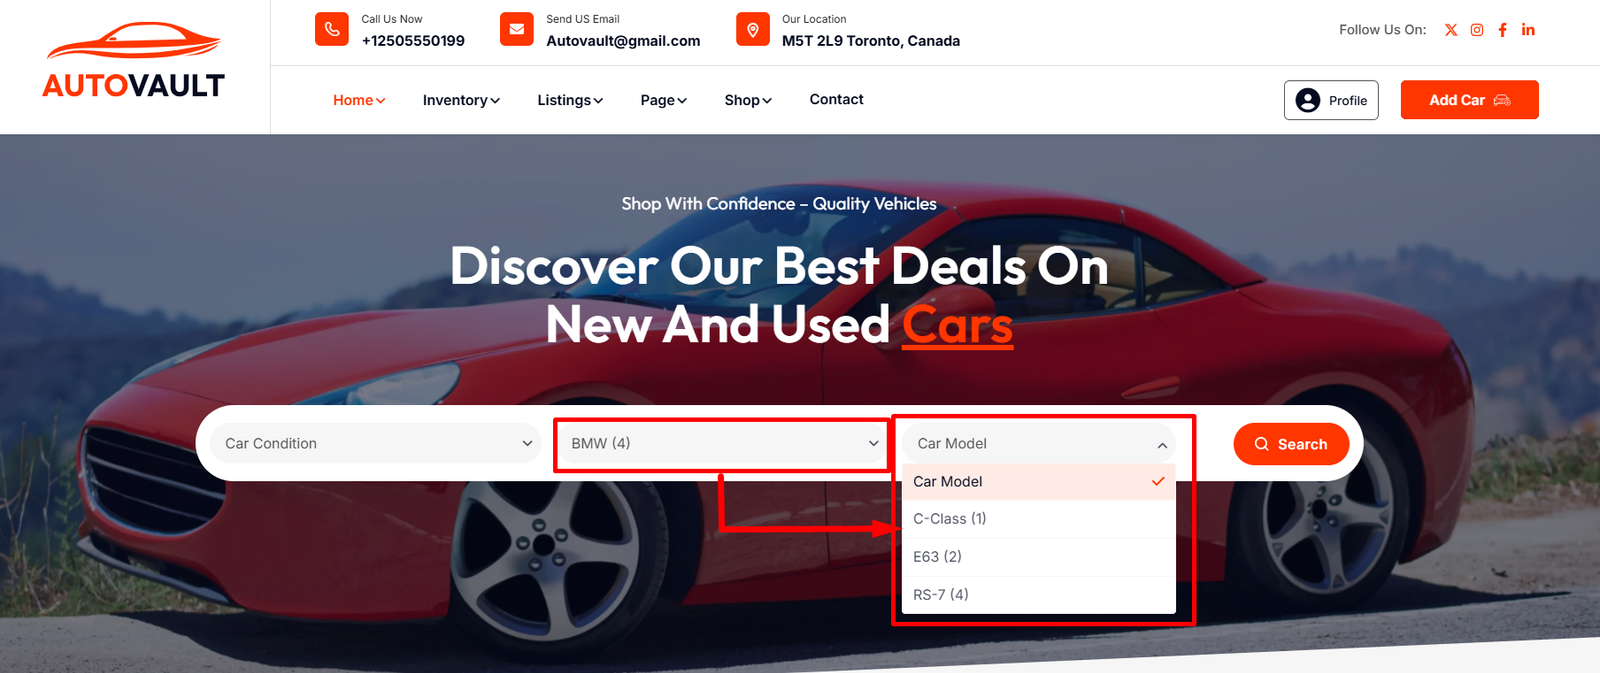
Now, when you select make from the Search form, only corresponding models will be displayed:
The parent-child relationship between Makes and Models can be imported in bulk using the manual provided below.