
1. First go to Easy Elements -> Header & Footer.
Then you will get All header and footer Layouts here and you can make your new header or footer as well.
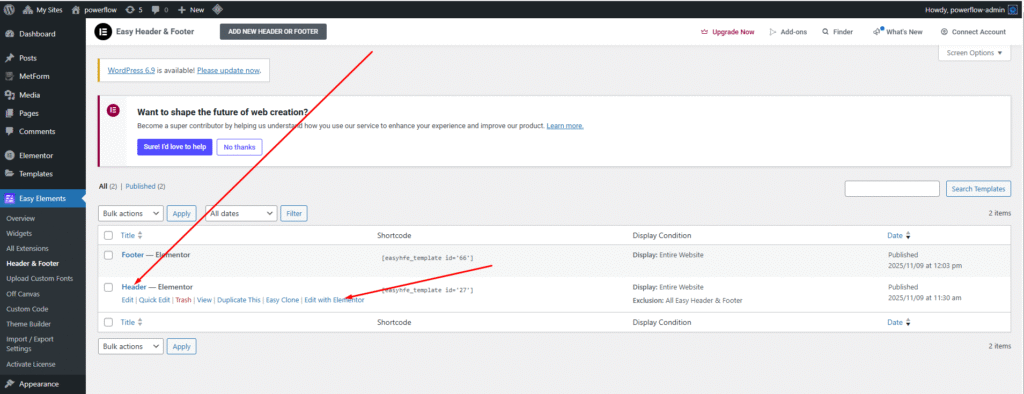
2. Then select any header you want to edit and just click to edit with elementor
3. Then you can easily add the site logo, menu, and as like you want using elementor. You can add anything using drag & drop system. Our all theme same way you can change header or footer content.
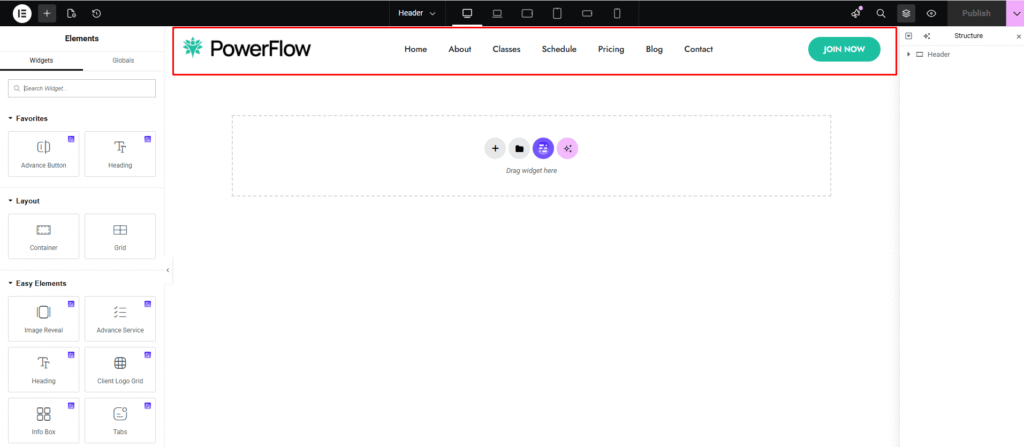
Now you can add anything your menu you want.
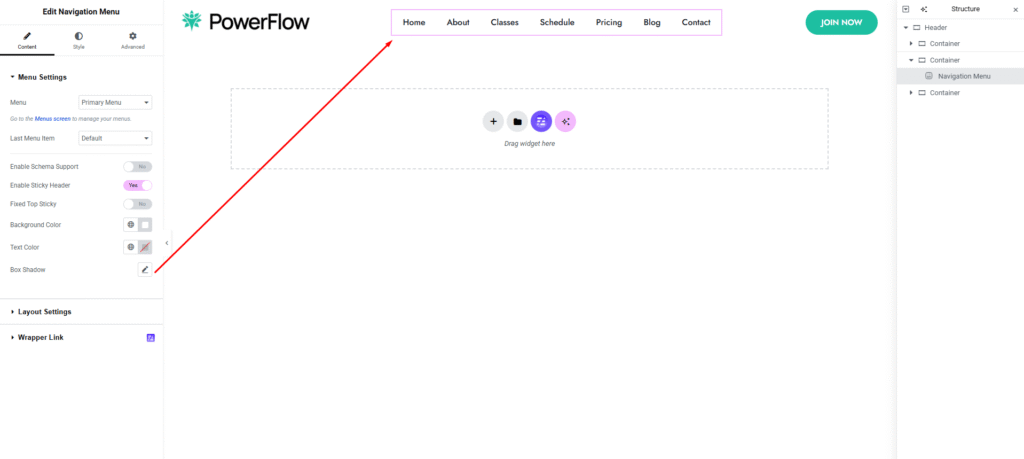
This shows how to style your header or primary menu. First, create your site menu and give it a name—by default, we use Primary Menu. Then, search for the Navigation Menu widget in Elementor and drag it to any location where you want your menu to appear.
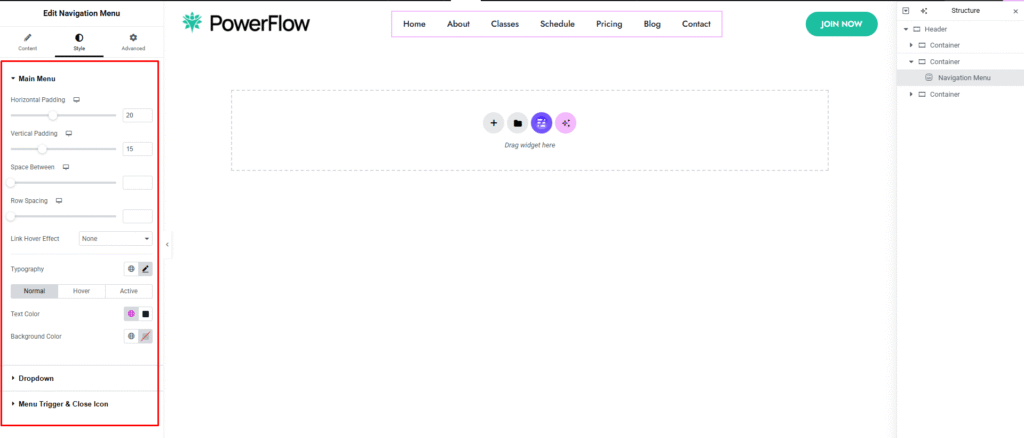
You can style your menu exactly the way you want. All essential features are included, and we’ve thoroughly tested this widget since it’s the primary menu widget used in our theme.
You can add your site logo using our Site Logo widget. Simply enable the “Use Custom Logo” switch, and you’ll see all the essential options, including logo image, sticky logo image, logo width, and placement. You can style everything exactly the way you want—giving you full control over your logo.
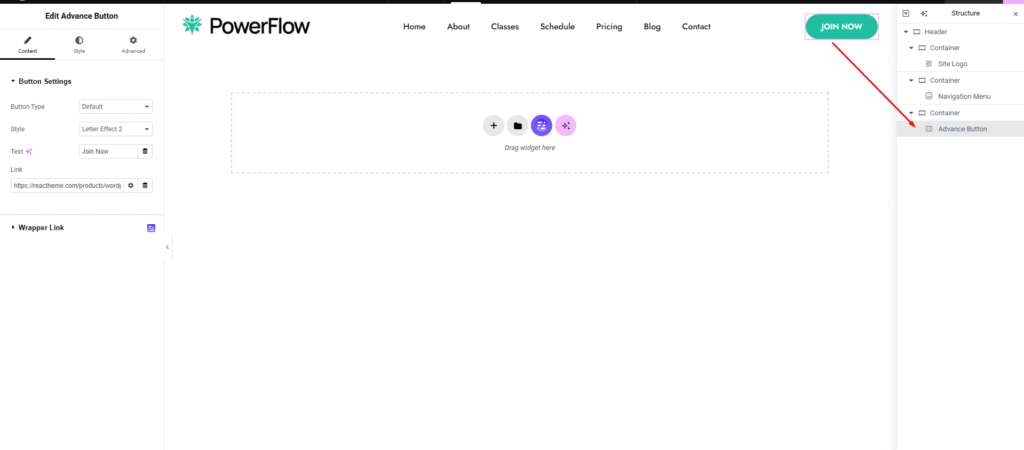
As you already know, once you’re in the Elementor editor, you can add anything you want to your site. For our design, we needed a stylish button in the header. We used our Advanced Button Widget to create this type of button with a modern, stylish effect.